You work hard to create a thriving online business – sometimes you have to do it quickly while you’re busy with other tasks that consume your days.
In the rush to get more things done you can miss details or be sloppy and you might even make things worse for yourself.
That is why I created this 12-point checklist to make sure you set your blog up for success in 2019.
If you get stuck with any of the following tasks, leave a comment below and remember that I am always available to help.
Make “List Building” your #1 Goal
If list building is not your number one goal and the thing you focus most on, then it should be.
In case list building is already the highest priority on your list, then you just have to double down on it.
1. Get Started with List Building Today
When you are starting out things are pretty simple. First, you decide what incentive you want to offer to people so that they subscribe to your newsletter and make it enticing.
Then you need to make a list with all your friends and acquaintances.
Next, email them from your Gmail/Yahoo/Hotmail account and invite them to your newsletter.
The final step should be to make a list with those that said “yes” and only then decide on what email service provider to use. To start with you can just use pen and paper.
You can also take this step if your list is old and you want to start from scratch.
2. Double Down on List Building
If you are looking to increase the number of people on your email list, then you need to put a little more effort into it.
First, you will need to make sure you have the right opt-in forms on your blog. I know it’s a no-brainer but I’ve seen people not doing this efficiently.
Be sure to add forms to the following locations of your blog:
- homepage
- about page
- footer
- sidebar
- below posts
Next, you will need to look at the most popular blog posts on your blog (use Google Analytics) and add a better incentive for people to signup on those pages.
Those incentives need to be relevant to the content of the blog post.
They can be:
- a checklist
- a to-do list
- a printable form of the article
- a cheatsheet
- a list of additional resources
Using these incentives will boost your conversion rate to over 20% for people subscribing to your email list.
You can choose to step up your game and use webinars and giveaways to grow your list more.
Webinars are very powerful when it comes to list building because they can help you quickly increase the number of people on your email list.
You can do monthly or weekly webinars for your existing audience, or partner webinars, where the best content is presented to someone else’s audience.
Giveaways can also offer you a big boost if done strategically. With giveaways, it’s best to choose prizes that are relevant to your audience and give people more chances to win if they share the giveaway or invite friends.
Bryan Harris got 2,239 email subscribers in 10 days.
This way the giveaway can become viral, and you will get more people subscribed to the giveaway.
3. Use the Right Email Marketing Service Provider for You
Choosing the right email marketing service provider is no easy task. Many times you get into analysis paralysis when choosing a new provider and you often remain with the old one or make the wrong choice.
Unless you are doing sophisticated launches that require an entire team to handle, you should not need most of the functionality you currently get from your email marketing service provider.
All you need is simplicity to save you time and the right level of support to help you take your business to the right level.
When building Elevatr, a new email marketing software I launched this year, simplicity was our number one goal. It takes 2 minutes to get a form on your blog or send a campaign.
After we launched Elevatr we focused on making our customers successful and helped them with product launches to show how serious we are about helping them to become successful.
My recommendation would be for you to look beyond functionality and focus on benefits.
If you are serious about your online business you should also be serious about using the right email marketing tools.
Measure your Results
Knowing what works and what doesn’t on your blog can make the difference between failure and success, it’s just like flying blind.
If you do not know who is sending you customers and what content converts best, you will focus your efforts in the wrong direction.
4. Add Goals to your Google Analytics Account
Google Analytics is the most used analytics tool out there. Everyone adds the tracking code to their blog, but most people don’t take advantage of the insights they get from it.
If I advised you to do only one thing with Google Analytics it would be set up some conversion goals.
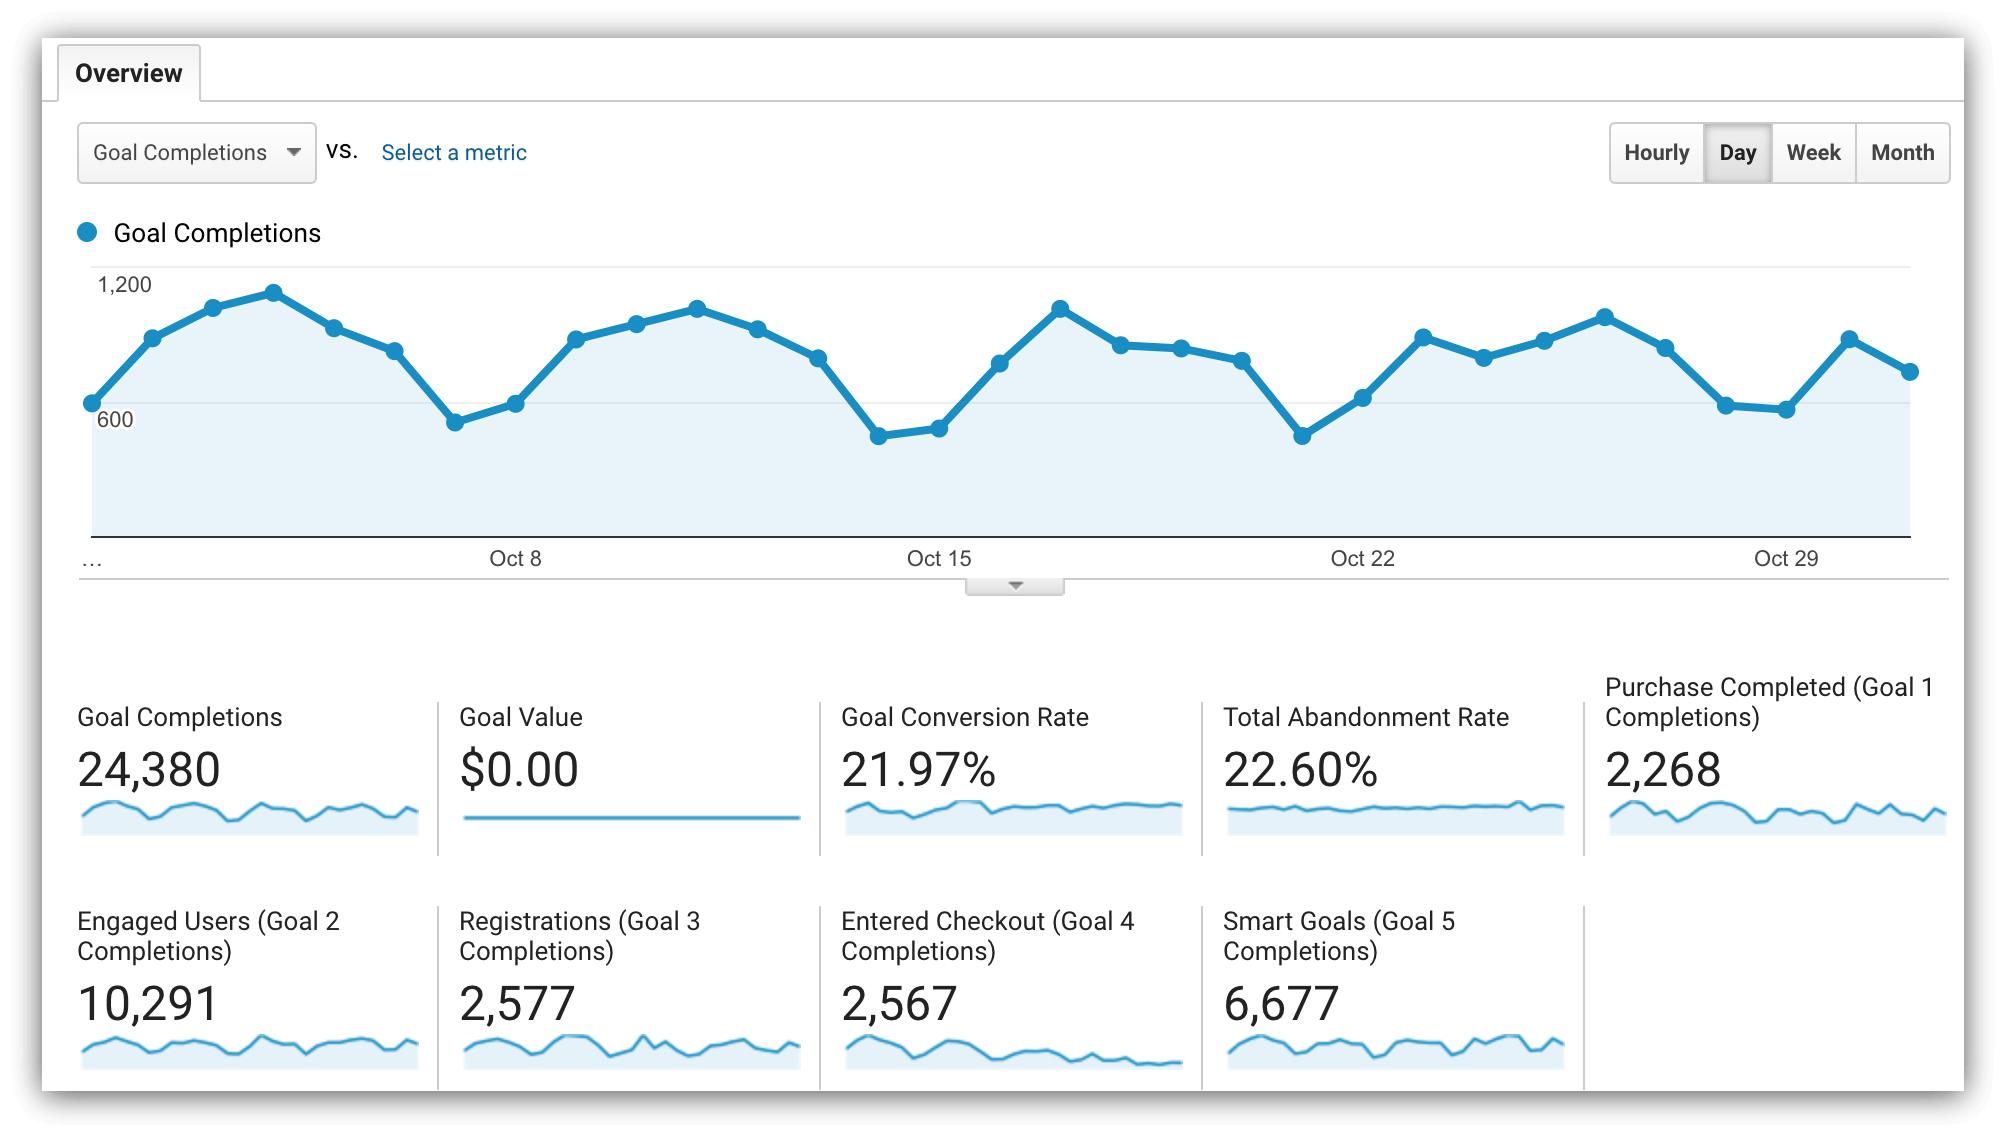
Google Analytics will help you look beyond sessions and will let you identify your most valuable content and traffic sources.
To do that you will need a thank you page for every goal you want to track where you can redirect readers after they complete the goal (email signup or product purchase). This is only one type of goal you can setup, but there are more.
Then you have to take that page and tell Google Analytics that it should treat it as a conversion. Remember also to add a value to the goal so you can see some $ in your Google Analytics reports.
It is even better if you use eCommerce because you can send eCommerce data to Google Analytics and it will show better insights about your products and conversion rates.
Get your Content More Visible in Google
Once you are done with setting up your list building and are ready to measure your results it’s time to get more exposure for your content in Google.
5. Add Yoast SEO to your Blog
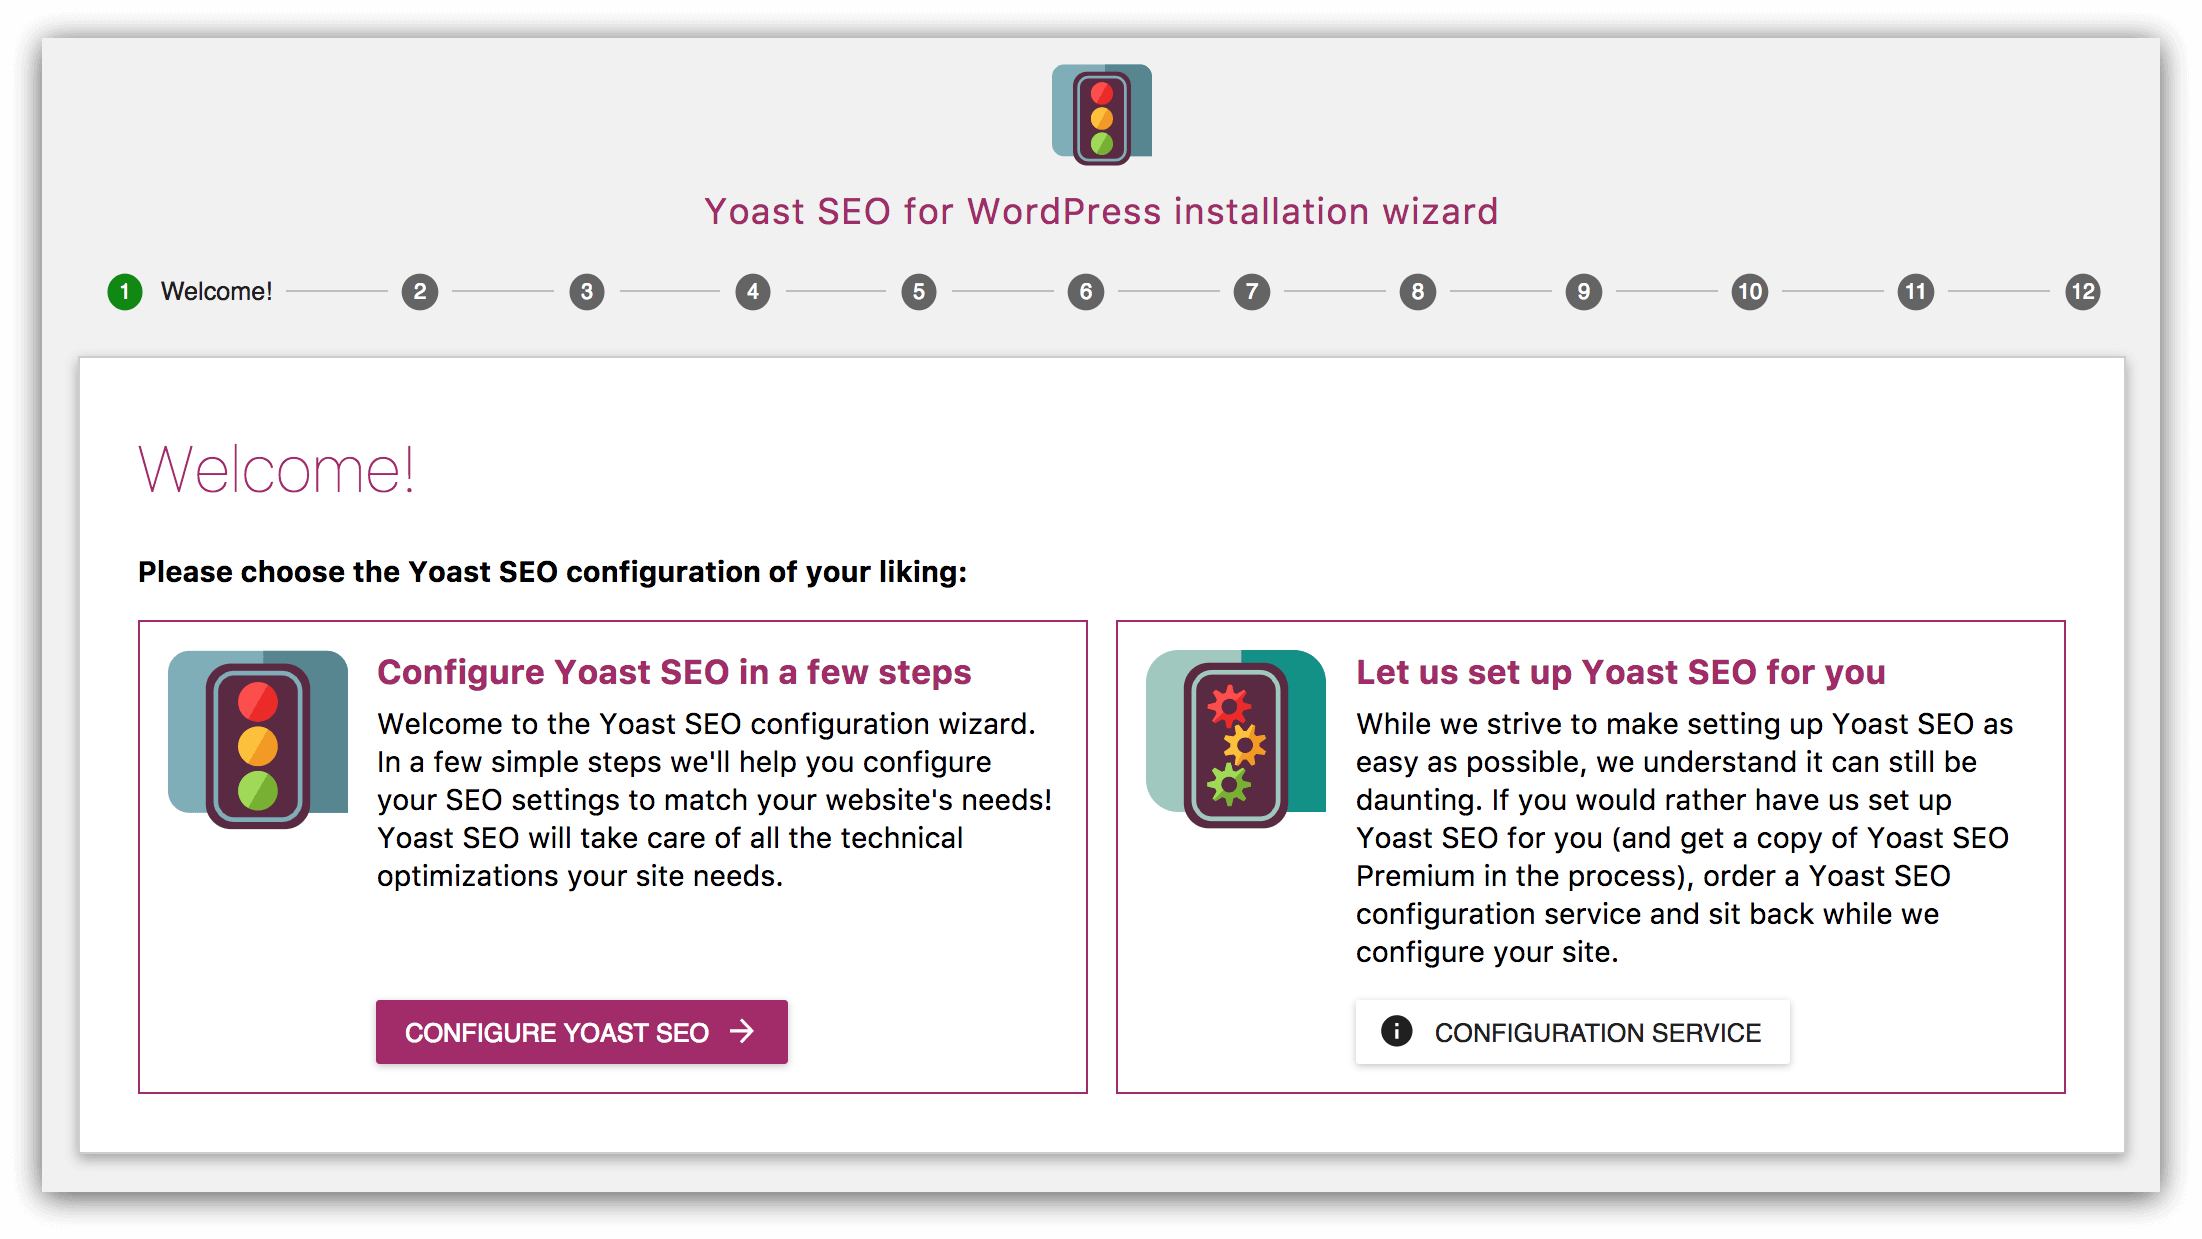
First, you will need to add Yoast SEO to your WordPress blog if you don’t have it already.
There is no advanced setup that you need to do right now and you don’t need the premium version yet.
All you have to do is install it and go through the default setup once you activated it.
6. Switch to HTTPS
Google has become serious about you using HTTPS for your blog and it’s no only bumping secure blogs in search results, but Google Chrome will also mark all HTTP sites as “not secure” starting with July 2018.
This is why now it is the right moment to switch to HTTPS.

Depending on your existing setup there are a couple of options available.
1. Get a free SSL certificate from your host
Managed WordPress hosting providers, like StudioPress, offer free SSL certificates through Let’s Encrypt. It is very easy to add a SSL certificate if your hosting provider has your back.
2. Use CloudFlare for security and performance
CloudFlare acts as a proxy between your server and the visitor, thus serving the traffic through their network of servers.
It adds a layer of protection to your blog to help you from mitigating potential attacks, it provides a free SSL certificate and also delivers your content through their network of servers to improve the loading speed of your blog.
This setup is very straightforward: signup for an account, enable “Full” SSL Certificate from the [Crypto] menu, download the SSL certificate from CloudFlare and send it to your host to install it on your server.
3. Use Let’s Encrypt
If none of the above works for you then you can use Let’s Encrypt directly.
You can set it up yourself or integrate it with your hosting provider.
Here you can find a list with all the hosting providers that support Let’s Encrypt.
7. Add your Blog to Google Search Console
If you haven’t added your blog to the Google Search Console to get information about how your blog does in Google you are missing out.
Google Search Console will show search data on what landing pages show in Google results, what keywords people search for when visualizing results from your blog and the most important errors that Google encountered while crawling your blog.
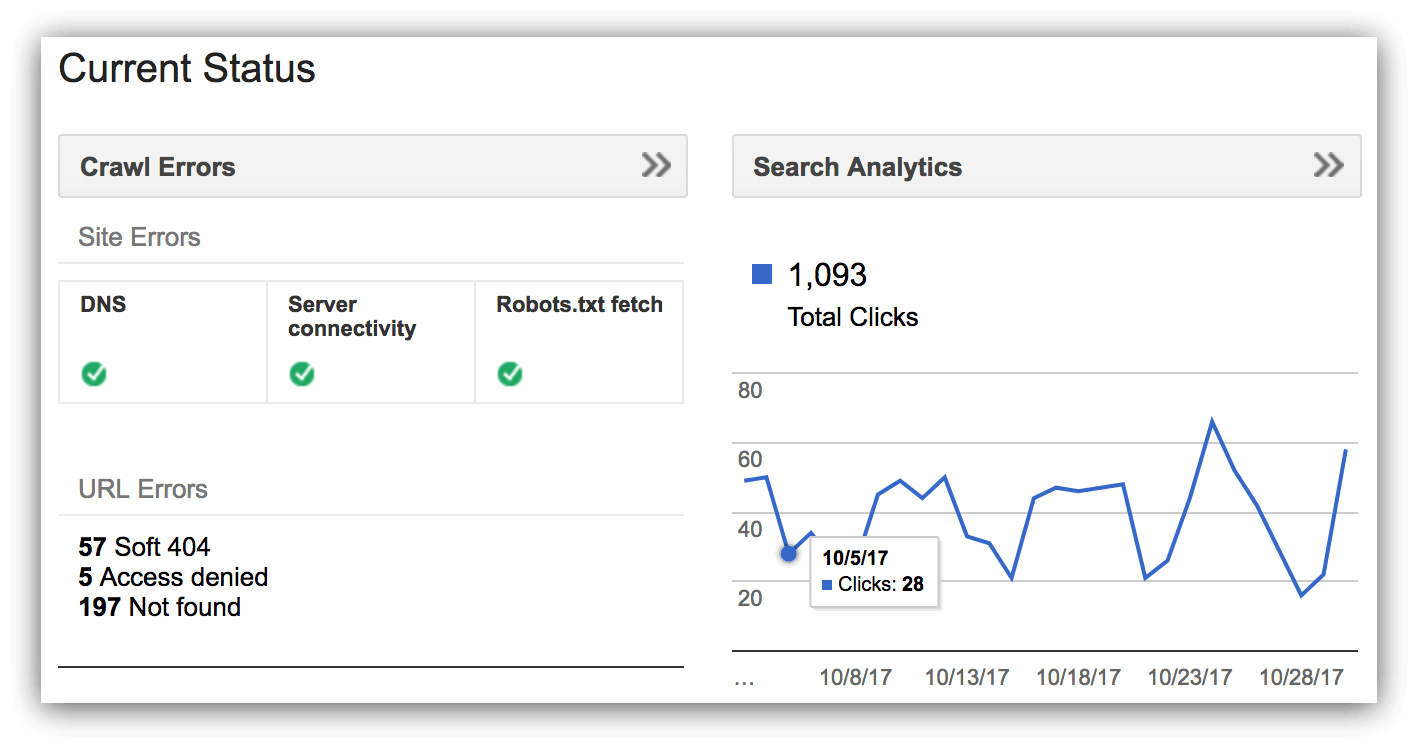
Plus it integrates with Google Analytics so you can see search data straight in your Google Analytics account.
The process of adding your blog to the Google Search Console is simple:
- Use your Google account to signup here.
- Use the [Add a property] button to add your blog.
- Remember to add all variations of your blog: https, http+www, https and https+www.
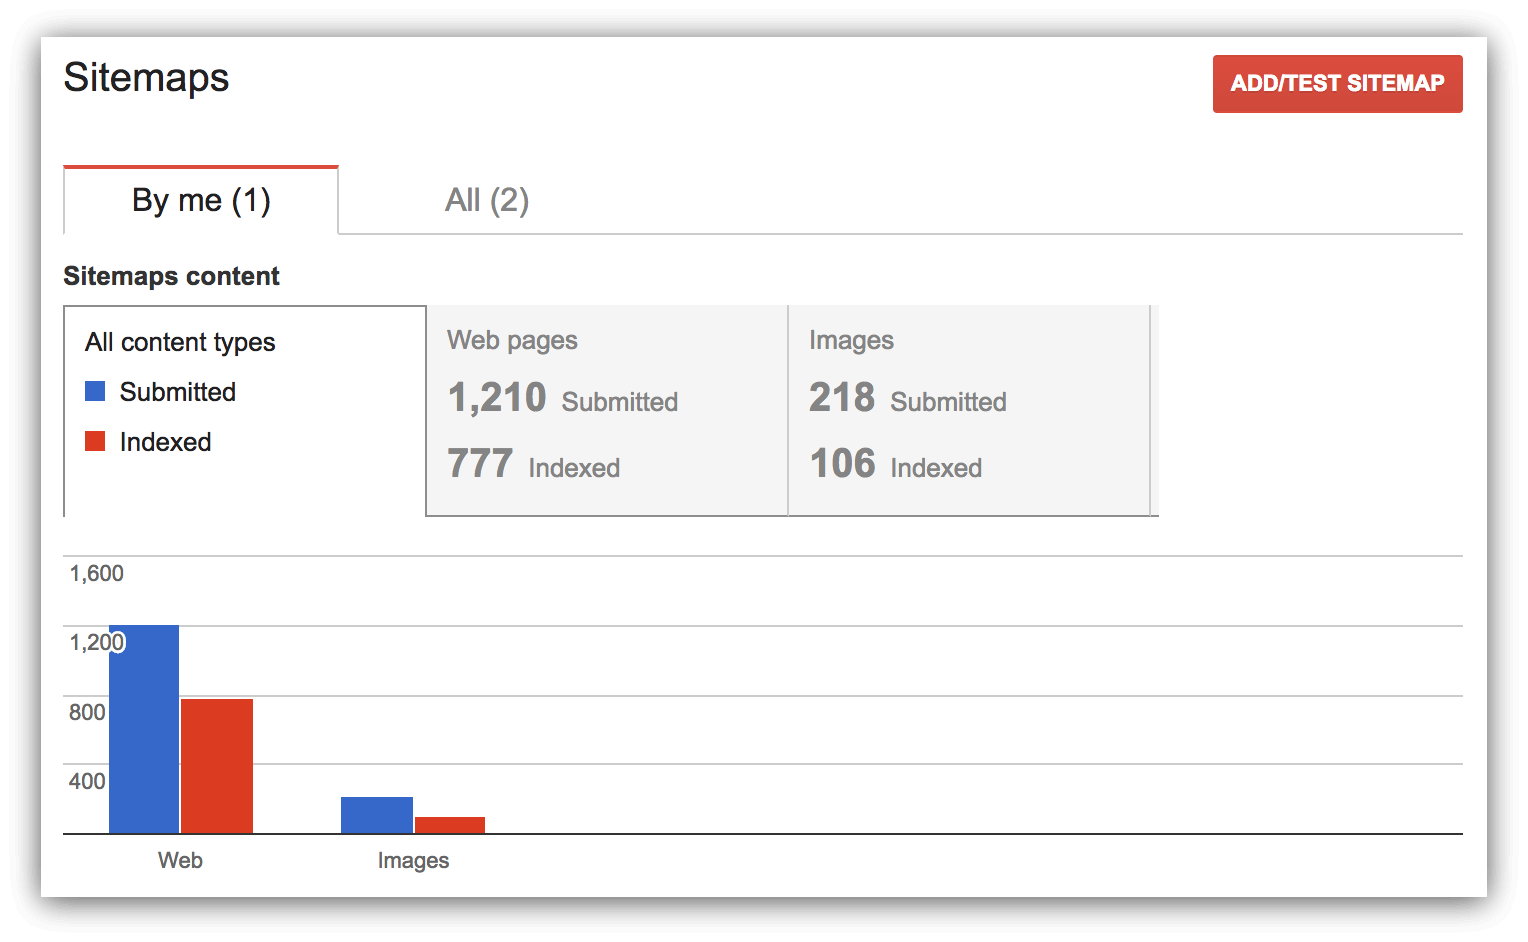
8. Submit your Sitemap to Google Search Console
From your property dashboard go to [Crawl] > [Sitemaps] and add your sitemap.
You can also do it at this link.
If you are using Yoast SEO, then your sitemap should look like mine: https://eugenoprea.com/sitemap_index.xml.
9. Verify Google Search Console for Errors
One crucial step that you need to follow for your SEO health is verifying if you have any crawl errors in your Google Search Console.
If you have any errors displayed there, check why they are there in the first place and fix them.
Most of the errors can be fixed with a redirect to a resource that is available.
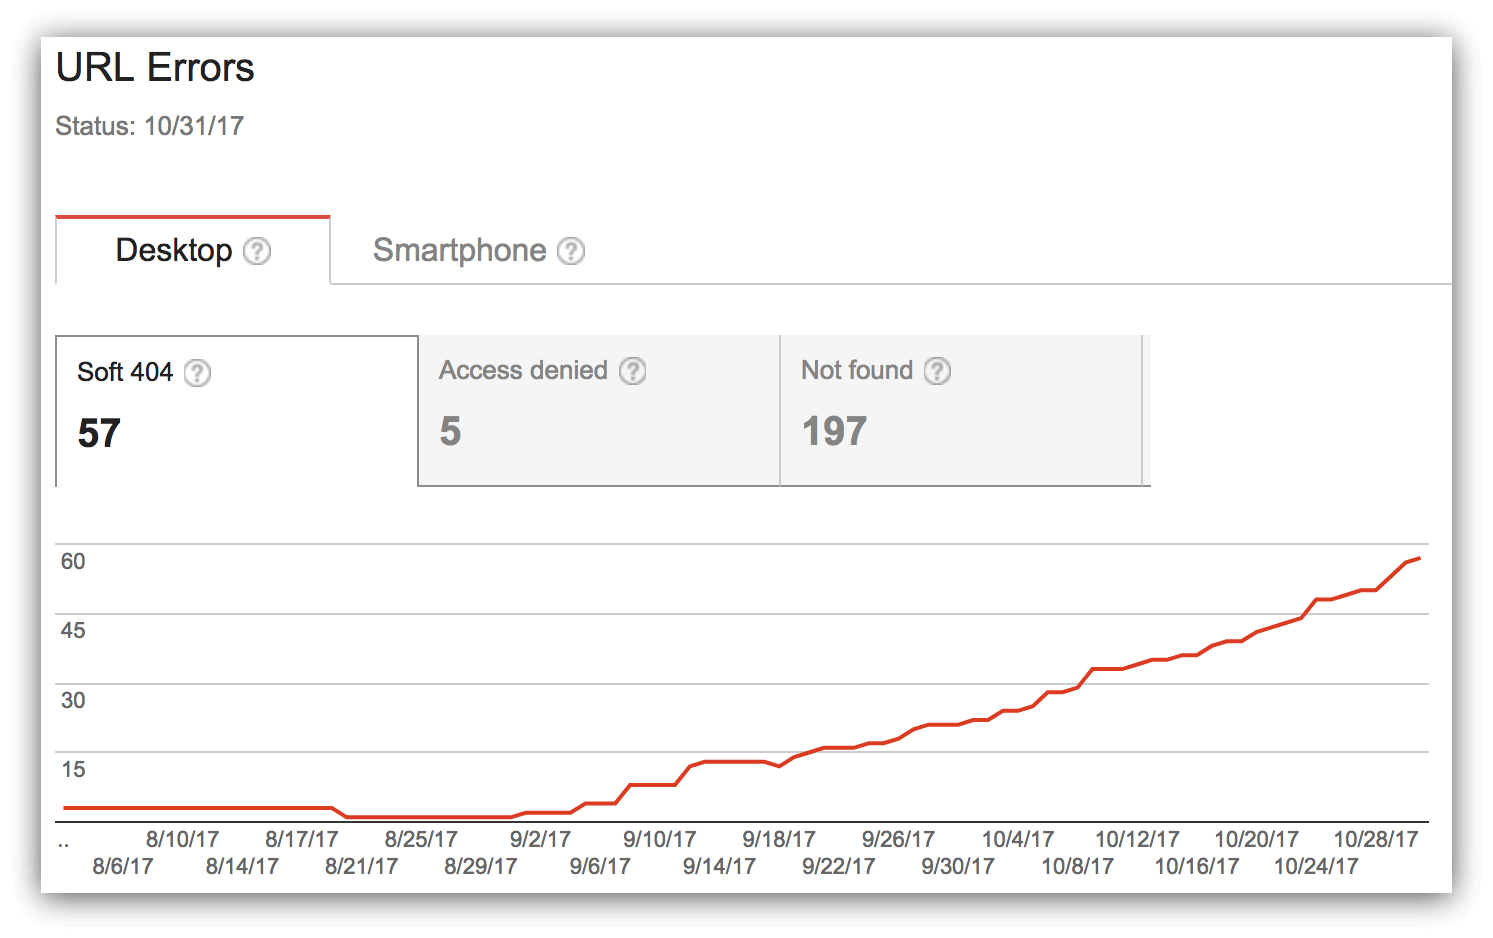
You will need to add all the errors you have in a spreadsheet and in the next column of each row add the URL where you want it to be redirected.
Then send it to your hosting provider and they will add the redirects at the server level.
Before you do that make sure that the URLs you are sending are from your blog and that they are genuine errors. Sometimes Google can also have some false positives.
10. Invest Time in your On-Page SEO
Fixing your on-page SEO is something simple that you can do while creating content for your blog.
There are a few things that you need to keep in mind as you write content:
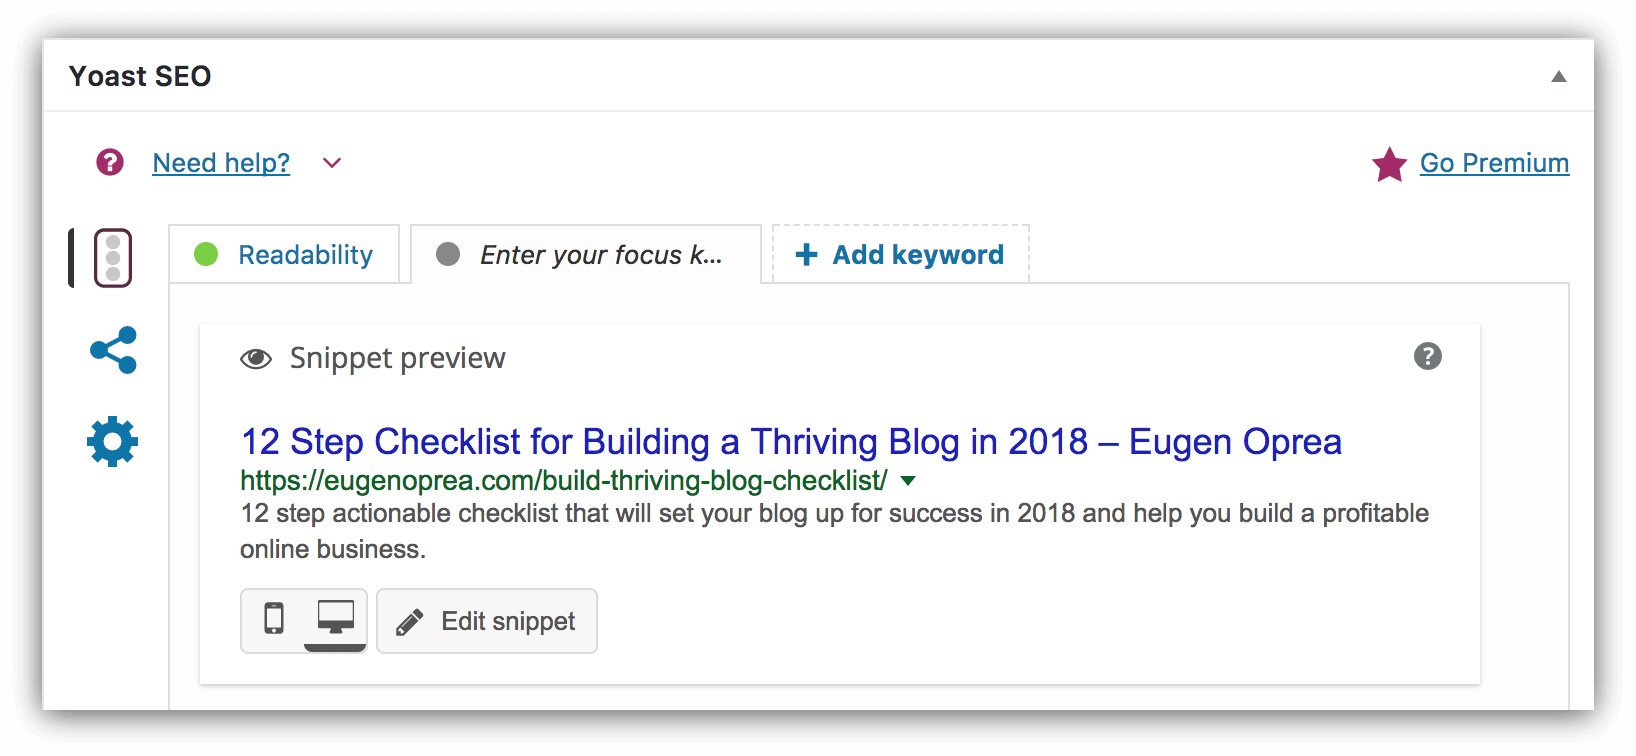
- Add a meta title that will catch people’s attention in search engines
- Add a meta description to support the title and get people from Google to your blog
- Use a short and descriptive URL (check out the URL of this article)
- Use your target keyword in the meta title, description, URL and naturally in the article
If you are using the Yoast SEO plugin, you will also get some good suggestions from it.
Elevate your Blog
11. Invest in your Hosting
If you want to switch from having a “homemade craft project” to building a real business then you need to invest in the hosting of your blog.
You need to set aside a budget and use a service you can rely on when you need it most.
An excellent hosting service has to be reliable, secure, fast and work for you, not against you.
That is why I always recommend hosting on StudioPress Sites.
12. Make your Blog more Appealing
Most people usually start with this step and then get busy and forget about the rest.
While this is an important task that will make people trust you more, it shouldn’t be the first item on your list. A beautiful design won’t necessarily bring you customers, but done at the right time it can help tremendously.
To make your blog more appealing you need to have a clean and simple design.
The easiest and fastest way to get a design that is clean, simple and affordable is to switch to a new StudioPress theme.
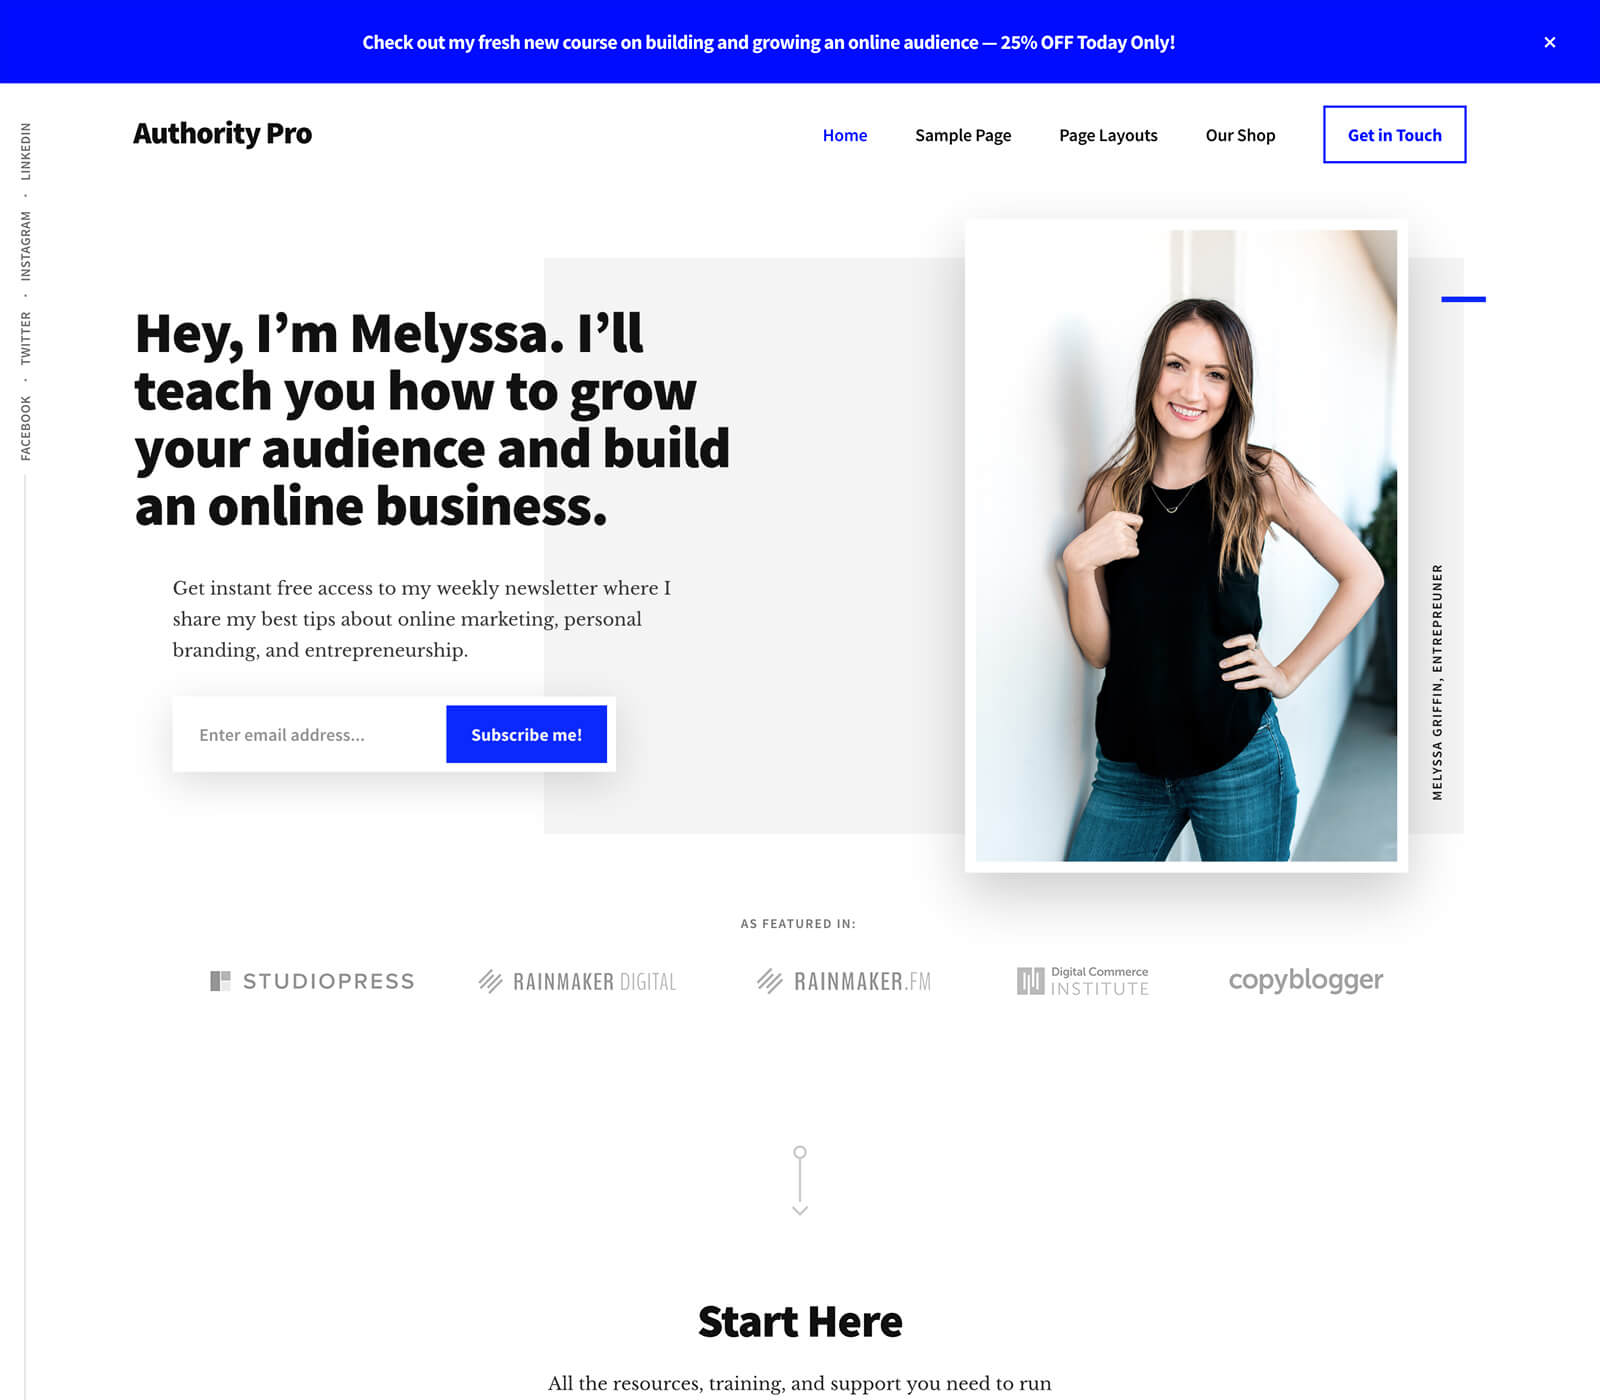
The latest StudioPress Sites theme is impressive. It’s called Authority Pro, and it’s created by Rafal Tomal, the lead designer from Rainmaker Digital.
All you have to do is just get it from StudioPress, add it to your blog, tweak a few things and you are done.
Conclusion
Now that you finished going through the entire article, here’s what I need you to do next:
1. Get the printable checklist.
2. Block time in your calendar to work on each item on the checklist.
3. Complete the tasks when you are prompted by your calendar.
4. If you have questions, let me know.
5. If you need additional help with the items above I am here to help.
